What’s a NAS and Why It Belongs in Your Home Setup?
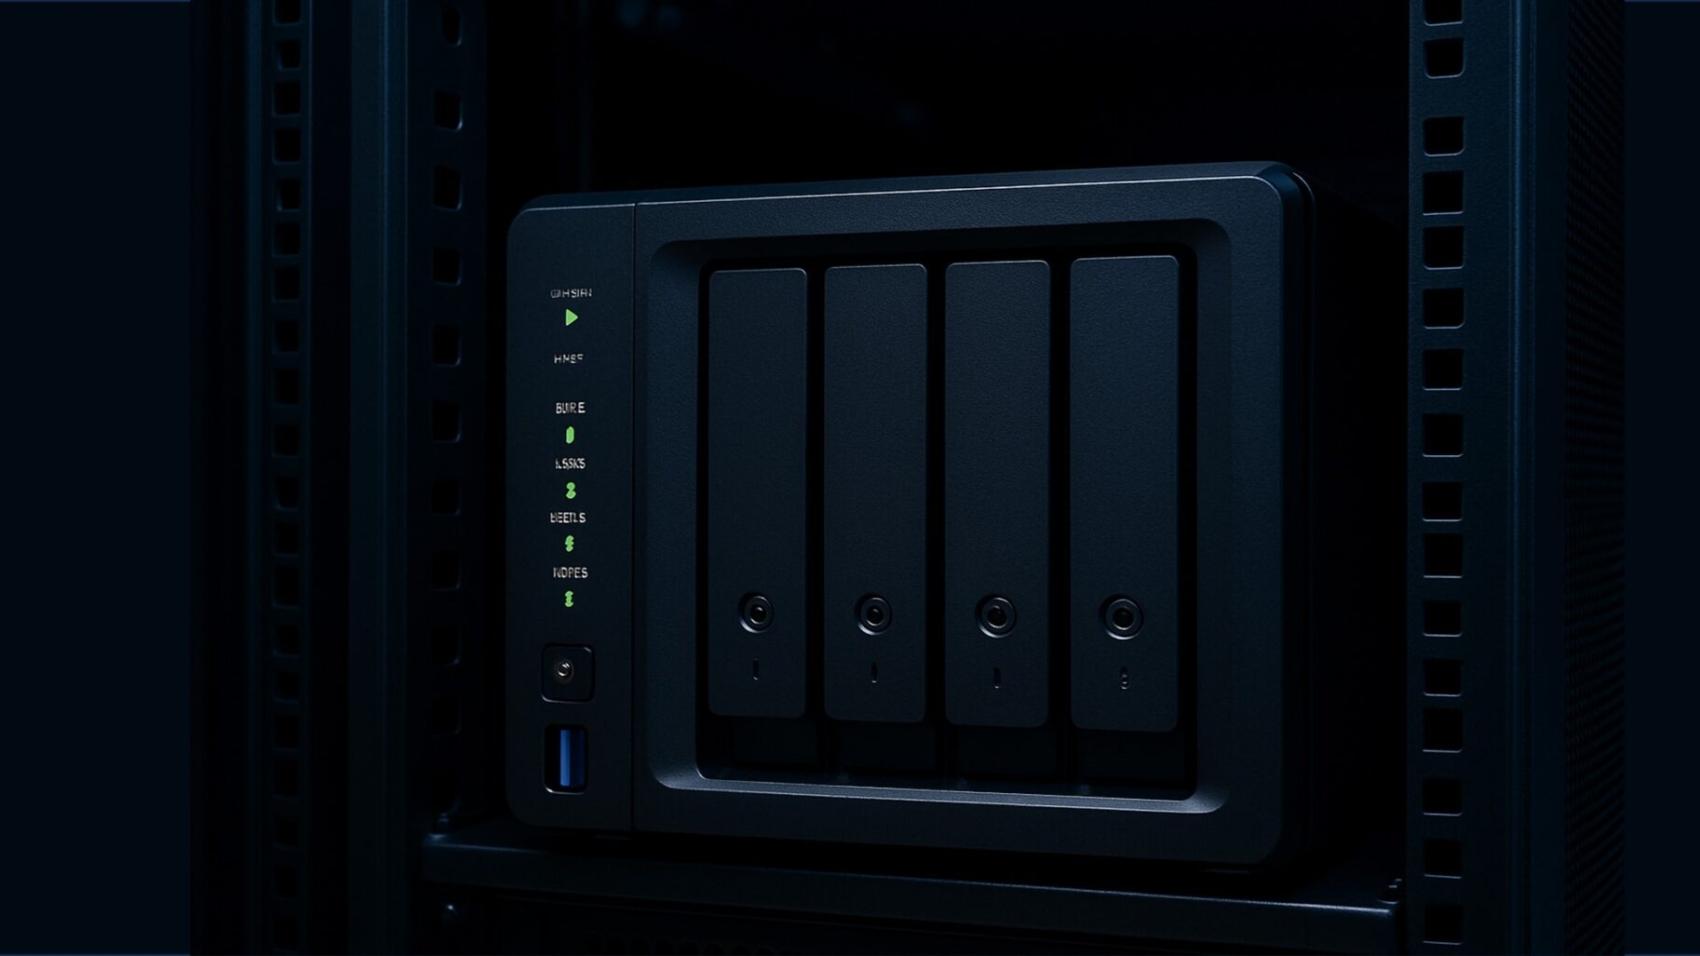
Think of NAS (Network Attached Storage) as your personal cloud—but one you actually own and control. It sits quietly in your room or office corner, silently storing your CCTV recordings, project files, movies, mobile backups, and more.
Instead of paying monthly to Google or Dropbox, you can set up a NAS at home and access your data from any device on your Wi-Fi. Whether you’re working remotely, running a smart home, or hosting family movie nights, a NAS gives you speed, privacy, and convenience—all in one box.
How I Set Up My NAS the Smarter Way
Setting up NAS might sound intimidating, but honestly—it’s simpler than wiring a new ceiling fan. Here’s a no-frills walkthrough that anyone can follow:
1. Pick the Right Operating System
If you’re using a Raspberry Pi, install OpenMediaVault—super flexible, open-source, and community-supported.
Prefer a cleaner, plug-and-play experience? Go with Synology or QNAP—they come with their own sleek OS like DiskStation or QTS.
2. Hook It Up to Your Router Like a Pro
Once your NAS boots up, connect it to your home router using a CAT6 LAN cable.
Then:
- Log into your router settings
- Reserve a static IP for your NAS (no more “where’s my NAS?” surprises)
LAN is the way to go here—Wi-Fi won’t cut it for heavy video transfers or backups.
3. Set Up Shared Folders That Actually Make Sense
You don’t want a dump folder. Make logical shared directories like:
/backup/for family phone backups/media/for your movies and music/cctv/for your IP camera footage
Enable SMB or NFS so Windows, Mac, and Linux devices can all see your NAS on the network.
4. Create Users—Even for Your TV
Give each device or person a login:
- Your laptop
- Home Assistant
- The CCTV NVR
- Even that smart TV pulling movies from your NAS
Set access rights carefully. You don’t want your toddler’s tablet erasing the CCTV footage.
5. Don’t Forget the Backup Tools
On macOS? Use Time Machine.
On Windows? Set up File History.
You can also use:
rsyncfor manual control- Synology Drive or QNAP’s Hybrid Backup Sync
- Or even Cloud Sync to mirror some folders to Google Drive
🔐 Safety First: Secure Your NAS Like a Fortress
A NAS is a server. Treat it like one.
- Change the admin password—immediately
- Enable two-factor authentication
- Turn off external access if you don’t need it
- Use firewall settings and auto IP block features
- If your NAS supports it, encrypt sensitive folders
🔄 Real-World Ways I Use My NAS at Home
Here’s what I personally use my NAS for, and I’d recommend it to any Indian techie or creator:
- 24×7 CCTV recording (4 camera feeds stored for 30 days)
- Auto-backup of all family phones every night
- Movie server using Plex—it’s like having Netflix, but local
- Project sync between office and home devices
- Local ML model runs and automation using Home Assistant + Node-RED
🔬 Setup at a Glance
🔸 Device: Synology DiskStation DS124
🔸 Drives: Western Digital 4TB WD Red Plus NAS Internal Hard Drive HDD
🔸 Switch: TP-Link TL-SG108E (Managed)
🔸 VLAN Setup: Separate zones for CCTV, Work, Guests
This setup has saved me from data loss more than once—and even handled 4K video editing over LAN like a champ.
Why a NAS is Non-Negotiable in 2025
We’ve moved beyond simple file storage. In today’s smart homes, remote work culture, and AI-integrated workflows, a NAS is the digital locker your home needs.
No monthly fees. No third-party snooping. Just a powerful, private, always-on data hub in your home.

