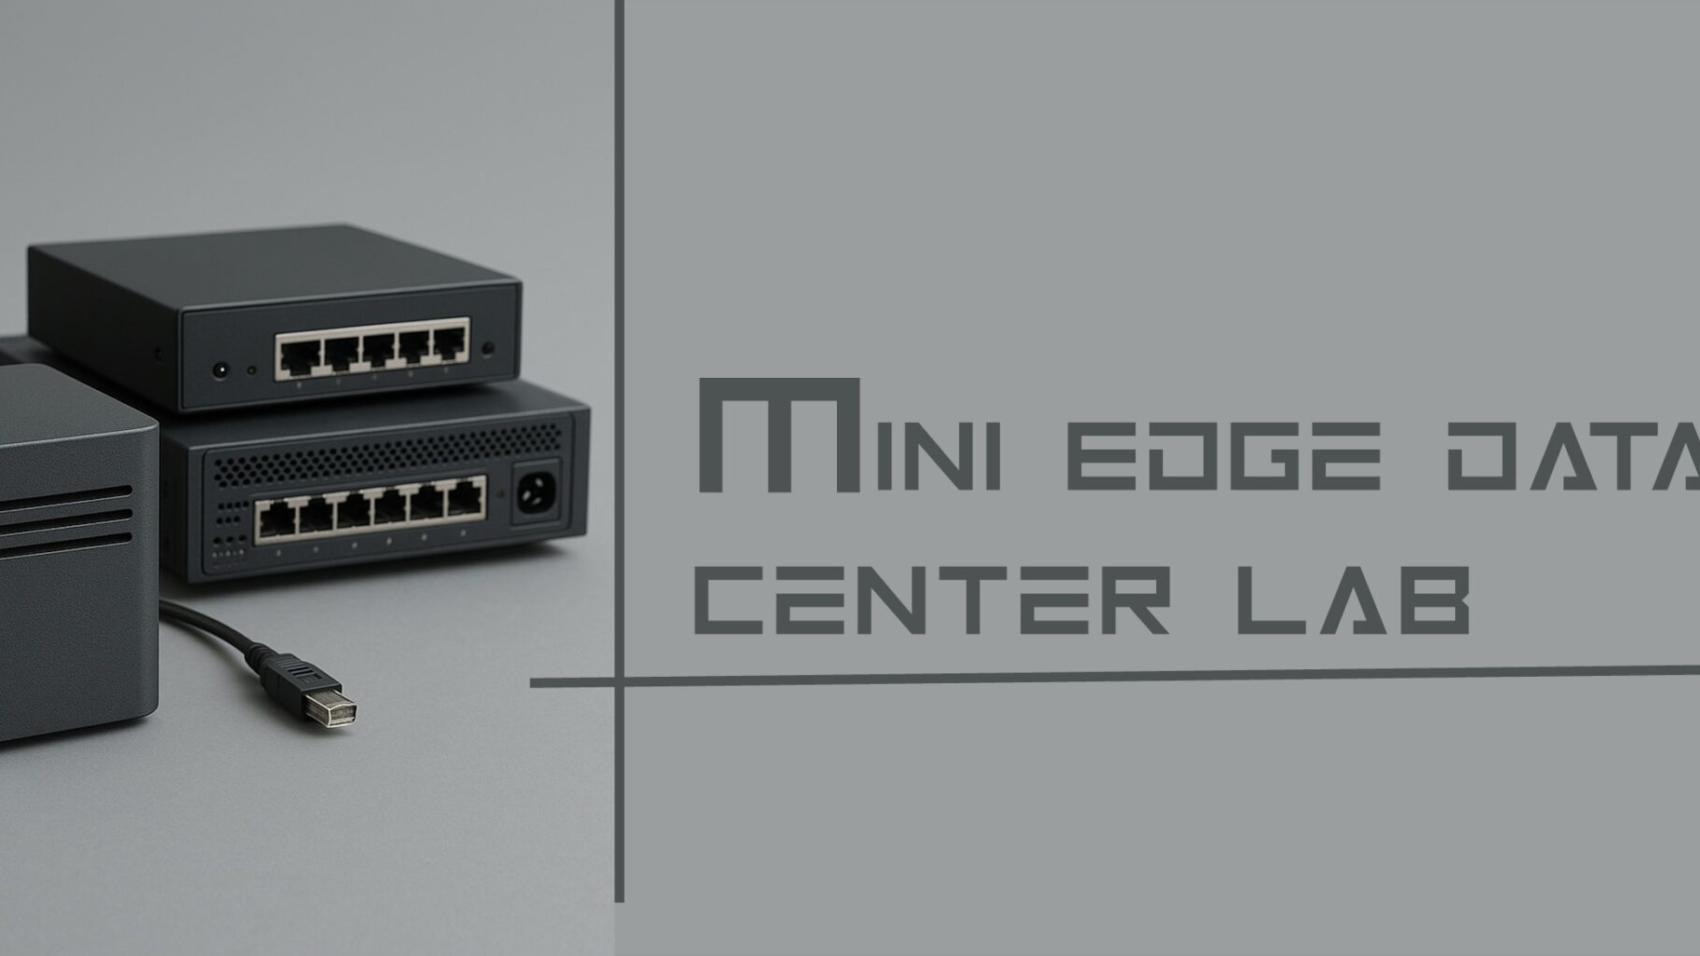
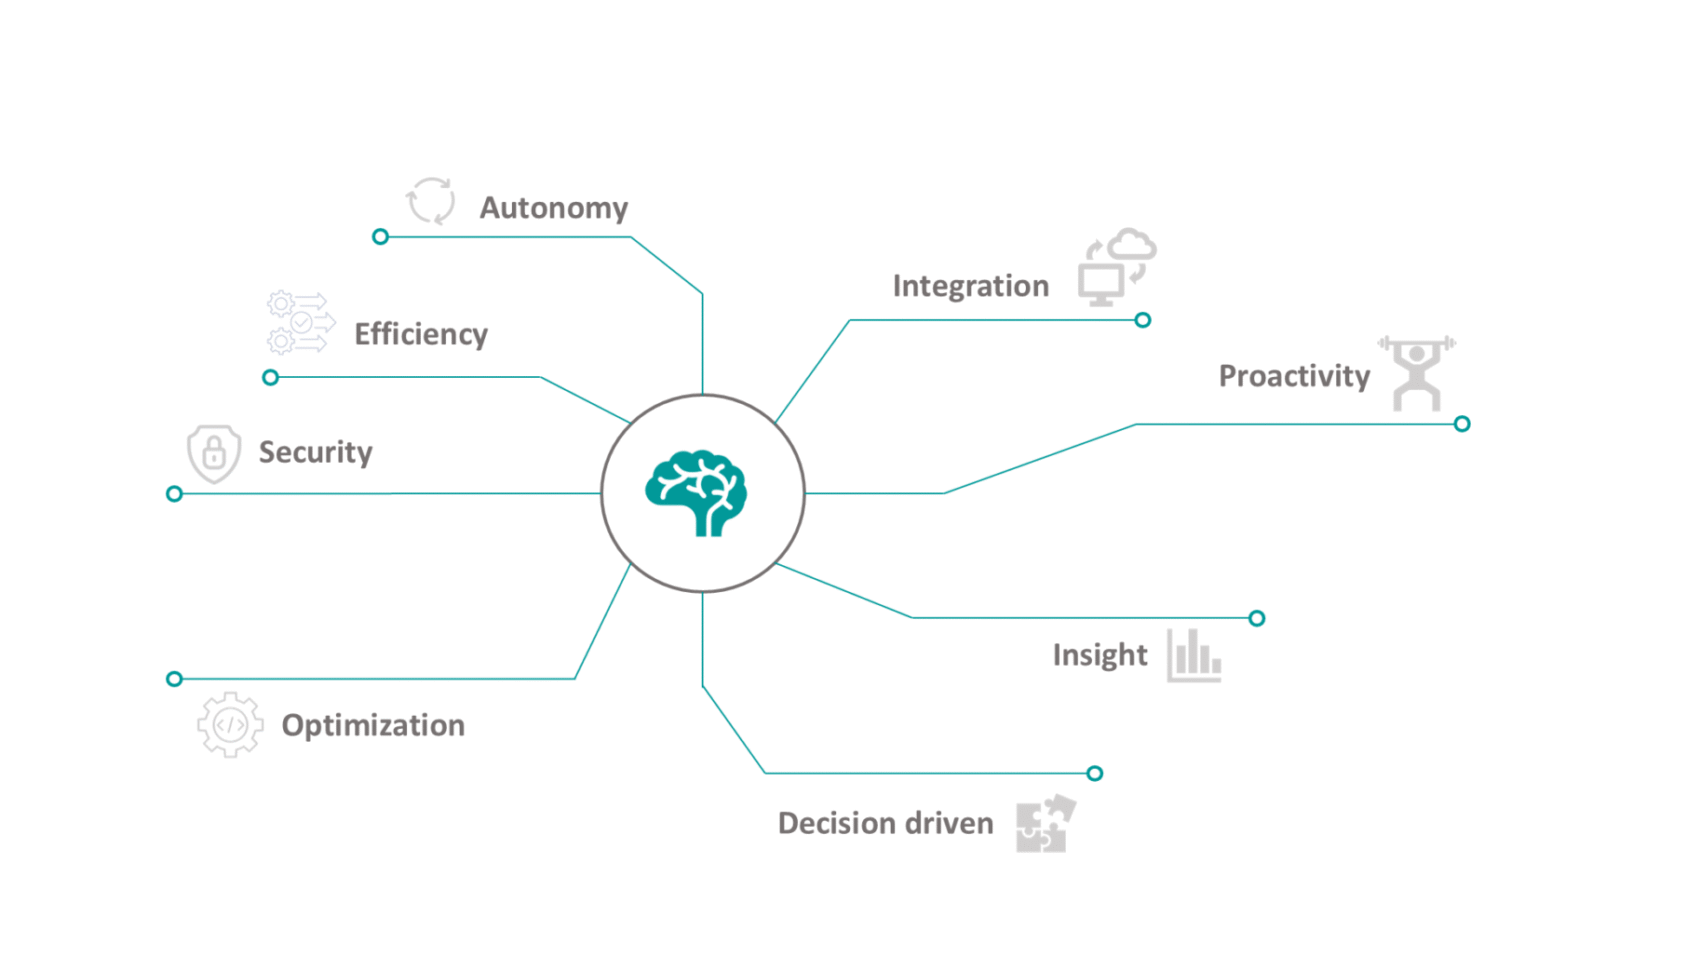
Mini Edge Data Center Lab with managed VLAN switch & Load balancer for smart home automation.
How to Set Up a Smart Home Network with Edge AI : Step-by-Step Guide (Part 3)
Welcome to the final part of our Smart Home DIY series. If you’ve been following along, we’ve already built a solid network foundation using a Raspberry Pi, Pi-hole, and Home Assistant. Now, it’s time to take it to the next level: bringing real AI intelligence to your home network—right at the edge.
Why Edge AI, and Why Now?
In a world where latency and privacy matter more than ever, Edge AI offers a game-changing advantage:
- It runs locally, not in the cloud.
- It keeps your data private and decisions faster.
- And it’s customizable to your own routines and behaviors.
This isn’t just automation—this is prediction, inference, and autonomous action at the device level.
Let’s walk through how to build your own bandwidth-predicting AI, run a local LLM (Large Language Model) using Ollama, and even trigger an alert through ESP32-based devices.
A. Build a Python AI Agent (Bandwidth Predictor)
Let’s say you want to know in advance when your internet slows down—maybe around 5 PM, when everyone jumps online. Here’s how to build an AI that learns your network trends.
Step 1: Use Speedtest Logs
*/30 * * * * speedtest-cli >> /home/pi/speedlog.txt
Start by using logs from your Pi:
Step 2: Create the Python Agent
pythonCopyEditimport pandas as pd
from sklearn.linear_model import LinearRegression

data = pd.read_csv('speedlog.csv')  # Format: Time,Speed
model = LinearRegression().fit(data[['Time']], data['Speed'])

predicted = model.predict([[1700]])  # Predict 5PM performance
if predicted[0] < 20:
    print("Warn user: Speed may drop at 5PM")
This script is basic, but powerful—it lets your network learn from patterns. You can expand it with time series or anomaly detection later.
B. Running a Local LLM with Ollama
Want to run a language model like LLaMA2 or Mistral without sending anything to the cloud? Use Ollama.
Step 1: Install and Run
You can now query the model locally, integrate it into scripts, or connect it with Home Assistant for smart responses or triggers.
ollama run llama2
C. Integrate with Home Assistant
Let’s feed the AI’s prediction into your Home Assistant dashboard.
Step 1: Use command_line Sensor
You’ll now see predicted bandwidth results as a sensor in Home Assistant—ready for further automations.
sensor:
  - platform: command_line
    name: Bandwidth Forecast
    command: "python3 /home/pi/ai_agent.py"
    scan_interval: 3600
D. ESP32: Take Action on AI Alerts
Want a physical alert when the model predicts speed issues?
Use ESP32 (with buzzer or LED) via MQTT or GPIO:
- Connect LED or buzzer
- Program ESP32 to listen for messages or state changes
- Trigger alert when forecast drops below threshold
Example: “If bandwidth forecast < 20 Mbps → Flash red LED”
Recap: Why Edge AI is a Game-Changer
✔️ No cloud latency or privacy risk
✔️ Customize actions per your needs
✔️ Empower your router to be smarter than ever
✔️ DIY-friendly, no expensive equipment needed
How to Set Up a Smart Home Network with Edge AI : Step-by-Step Guide (Part 2)
Introduction
In Part 1, we set up a smart edge-powered monitoring system using Raspberry Pi and Pi-hole. Now, let’s take it a step further—by making your network intelligent and automated. Whether it’s blocking internet during bedtime or reacting to internet slowdowns, automation keeps your digital life efficient.
Tools You’ll Need
| Component | Details |
|---|---|
| Raspberry Pi 4/3 | With Raspberry Pi OS Lite installed |
| Docker Installed | Containerized environment for Home Assistant |
| TP-Link Deco Router | With local IP access |
| Telegram Bot (optional) | For automation alerts |
| Home Assistant | Self-hosted automation hub |
Step 1: Install Home Assistant via Docker
Run the following in your Raspberry Pi terminal:
docker run -d –name homeassistant \
–privileged \
–restart=unless-stopped \
-e TZ=Asia/Kolkata \
-v /home/pi/homeassistant:/config \
-p 8123:8123 \
ghcr.io/home-assistant/home-assistant:stable
This sets up Home Assistant in Docker, with data stored in /home/pi/homeassistant.
🔗 Access it via: http://<raspberry_pi_ip>:8123
Step 2: Add TP-Link Deco Router Integration
Inside Home Assistant:
- Navigate to
Settings → Devices & Services → Integrations - Search for TP-Link Kasa Smart
- Add your router’s IP and credentials
✅ This allows Home Assistant to control your Deco mesh router (device block, restart, etc.).
Step 3: Automation – Block Internet at Night
Here’s how to block internet on a child’s device every night at midnight:
Meera: Block Mobile Internet at Night
trigger:
platform: time
at: “00:00:00”
condition: []
action:
service: tplink.set_device_state
data:
device_id: “”
enabled: false
mode: single
Replace <DEVICE_ID> with the actual device ID shown in the Deco integration.
Step 4: Automation – Speed Drop Alert
Automatically notify you if your download speed drops below 20 Mbps:
Meera: Alert on Speed Drop
trigger:
platform: numeric_state
entity_id: sensor.speedtest_download
below: 20
condition: []
action:
service: notify.telegram
data:
message: “Internet speed dropped below 20 Mbps!”
mode: single
Setup Tip: Use Speedtest CLI + sensor integration from Part 1 to track download speed.
Step 5: Visual Automations with Lovelace
Turn automation toggles into visual buttons:
Steps:
- Go to
Overview → Edit Dashboard - Add a new
Entities Card - Include automation toggles like:
automation.block_mobile_internet_at_nightautomation.alert_on_speed_drop
What’s Next?
Now your network isn’t just monitored—it acts on its own. In Part 3, we’ll explore AI integrations—using lightweight LLMs or TTS models to make your router or Raspberry Pi smarter with voice and intent recognition.
📦 Stay tuned for:
- Edge LLM on Pi (like Whisper, Whisper.cpp)
- Use cases like offline voice commands
- YAML for AI triggers
TechieBano.Com | Smart Gear. Smarter Minds.
How to Set Up a Smart Home Network with Edge AI : Step-by-Step Guide (Part 1)
Introduction
In today’s data-driven world, a basic router can’t keep up with modern demands. Buffering videos, inconsistent speed, and poor control over devices make traditional networks frustrating. That’s where Edge AI and DIY home networking step in.
In this blog series, we’ll build a smart, self-monitoring telecom setup using:
- A Raspberry Pi
- Edge AI tools
- A TP-Link Smart Router
- And simple scripting
This is Part 1: we’ll cover the setup and monitoring layer. No coding experience? No problem.
1. Tools You’ll Need
| Component | Description | Buy Link |
|---|---|---|
| Raspberry Pi 4 (2GB or 4GB) | Small Linux computer | Buy on Amazon |
| microSD Card (32GB) | For OS & logs | Buy on Amazon |
| TP-Link Deco / Archer Router | Smart Router with app | Buy on Amazon |
| Internet Connection | Broadband or Fiber | — |
| Laptop/PC | For SSH & configuration | — |
2.Raspberry Pi Setup
Let’s start with the Pi.
- Flash Raspberry Pi OS Lite
- Download Raspberry Pi Imager
- Select: Raspberry Pi OS Lite (64-bit)
- Flash to microSD using a card reader
- Enable SSH
- After flashing, open the boot partition
- Add a blank file named
ssh(no extension)
- First Boot + Update
Insert SD card, power up, connect to the network.
Login via terminal or SSH:
ssh pi@<raspberry_pi_ip>
Note: #default password: raspberry
Update your Pi:
sudo apt update && sudo apt upgrade -y
3. Installing Pi-hole
Let’s block ads and monitor DNS traffic locally.
Install Pi-hole
curl -sSL https://install.pi-hole.net | bash
Follow the prompts → Choose your network interface → Set a static IP.
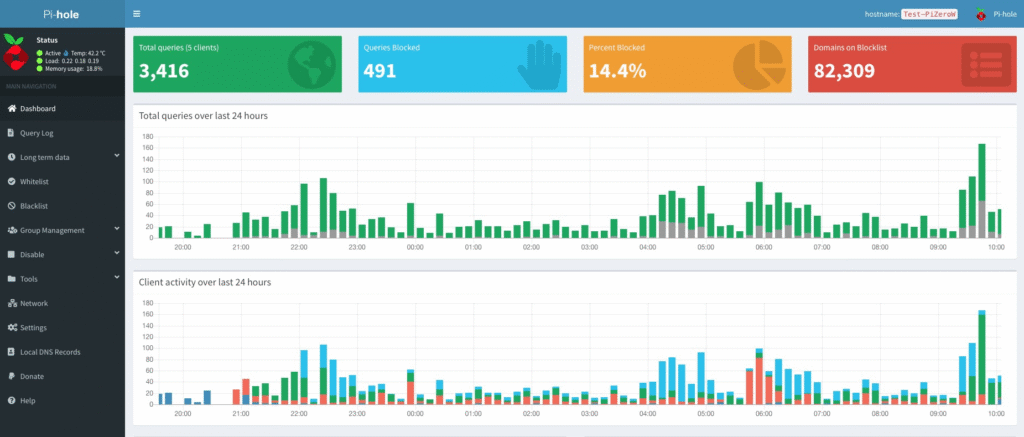
Dashboard Setup
Once installed, access:
4.Speedtest Integration (Optional but Awesome)
Want to log your internet speed automatically?
Install CLI Tool
sudo apt install speedtest-cli
Add Cronjob for Auto Logging
crontab -e
Paste this at the end:
*/30 * * * * speedtest-cli >> /home/pi/speedlog.txt
Note: This logs speed every 30 minutes. Use it later for AI analysis in Part 3.
✅ Wrap-Up
You’ve now:
- Set up your Raspberry Pi
- Installed Pi-hole to block ads and monitor DNS traffic
- Configured automatic internet speed logging
Up Next in Part 2:
We’ll add Home Assistant, automate bandwidth alerts, and create smart rules for your devices.
🛠️ TechieBano.Com | Smart Gear. Smarter Minds.
Requirement: Running AI Applications on a Home PC
Why You Should DIY Local AI at Home
Running AI locally means:
- Total control over your data and models
- Offline functionality with no internet reliance
- Zero cloud fees and complete autonomy
- Fast, responsive performance for automation and learning
Step 1: Prepare Your AI-Capable Home PC
| Component | Suggested Specs | Notes |
|---|---|---|
| CPU | Intel i7 / Ryzen 7 (or newer) | For multithreaded processing |
| RAM | 16 GB minimum, 32 GB preferred | Required for large models |
| GPU | NVIDIA RTX 3060 / 4060+ (with CUDA) | Core accelerator for AI workloads |
| Storage | 1TB SSD (NVMe) | Faster model and data loading |
| Operating Sys | Ubuntu 22.04 LTS / Windows 11 Pro | Linux recommended for AI dev |
| Cooling | Dual-fan or liquid cooling | Prevents throttling during long runs |
Step 2: Install Key AI Tools
✅ For Development & Automation
- Python + Anaconda or venv
- PyTorch / TensorFlow (GPU enabled)
- CUDA Toolkit + cuDNN
- JupyterLab or VS Code
- Docker + Git (version control)
✅ For On-Device LLMs
- Ollama (CLI)
- LM Studio (GUI)
- Text Generation WebUI
- LangChain / Haystack (for pipelines)
✅ For Smart Home Projects
- Home Assistant (with Docker)
- Node-RED (logic builder)
- Mosquitto MQTT (for IoT control)
- YOLOv8 + OpenCV (for vision-based automation)
Step 3: AI Projects You Can DIY
| Use Case | Tools Required |
| Offline Chatbot | Phi-2, Ollama, LM Studio |
| Voice Assistant | Whisper.cpp + Node-RED |
| CCTV Surveillance | YOLOv8 + OpenCV + MQTT |
| Smart Light/Fan | Home Assistant + Node-RED |
| PDF Q&A System | LangChain + Text Embedding + Vector Store |
| Writing Assistant | Text Generation WebUI |
Step 4: Get Your Models from Trusted Sources
| Model Type | Source |
| LLMs | Hugging Face, LM Studio, Ollama |
| Audio/STT | Whisper.cpp |
| Vision/YOLO | Ultralytics, OpenCV |
| Diffusion/Image | AUTOMATIC1111, Diffusers |
| Agent Framework | CrewAI, AutoGPT, LangChain |
Step 5: Tips for Privacy & Optimization
Privacy Practices
- Use offline-only software
- Block outbound traffic via your firewall
- Run Docker containers to isolate AI environments
Performance Tweaks
- Use quantized models (.int4, .gguf)
- Load frequently used models into RAMdisk
- Use
nvidia-smito monitor GPU temperature & memory - Set up power-saving automations when idle
Step 6: Community Resources & Learning
- r/LocalLLaMA (Reddit community)
- Discord: Ollama, LM Studio, Home Assistant forums
- GitHub: Search “local-llm”, “smart-home-automation”
- Indian Telegram/WhatsApp AI user groups
Build, Tinker, Share
It’s a call to action for India’s tech builders. Whether you’re setting up an offline assistant in Marathi or automating lights with vision-based triggers, your home can now be your AI lab.
We’d love to see what you build. Share your projects, scripts, or improvements with us—because the real power of local AI comes from community innovation.
🛠️ TechieBano.Com | Smart Gear. Smarter Minds.
Agentic AI Home Assistants: The Future of Smart Living
Agentic AI Home Assistants are redefining how we interact with technology. These systems don’t just respond—they think, plan, and take actions autonomously, giving you a smarter and stress-free home environment.
Unlike traditional assistants like Alexa or Google Assistant, these new-age agents act without waiting for commands. That’s right—your devices can now predict your needs, solve problems, and carry out tasks on their own.
What if your tech didn’t just follow commands, but actually thought ahead?
That’s the promise of Agentic AI—a new wave of intelligent systems that don’t wait for your input. They plan, decide, and act on your behalf. Let’s explore 5 real-world platforms that are already putting this future in your hands.
🔸 1. Rabbit R1 – Your Pocket-Sized Taskmaster
A tiny AI device that connects with your apps and carries out tasks automatically.
Why it’s smart: Understands what needs to be done—no instructions required.
🔸 2. Humane AI Pin – Wearable Assistant
It clips to your shirt and talks to you like a mini assistant.
Why it’s smart: Offers suggestions and takes action without wake words.
🔸 3. Auto-GPT / BabyAGI – DIY Smart Agents
For techies and tinkerers: AI agents that plan goals and complete tasks solo.
Why it’s smart: Sets its own steps and solves problems autonomously.
🔸 4. Samsung SmartThings Energy – Smarter Power Use
Optimizes your energy consumption at home.
Why it’s smart: Learns your usage patterns and cuts waste on its own.
🔸 5. TP-Link Deco AI Mesh – Self-Adjusting Wi-Fi
No more slow zones. It adapts your network in real time.
Why it’s smart: Switches channels, balances devices automatically.
⚙️ Also Catching Up…
- Google Home + Bard
- Alexa Smart Home Routines
- Home Assistant with GPT
These systems are on their way to becoming fully autonomous, but they still rely on partial human input.
Benefits of Using Agentic AI Home Assistants
- Eco-Friendly – Minimizes unnecessary power consumption
- True Automation – Less micromanagement
- Efficiency – Saves energy and bandwidth
- Proactive Safety – Takes protective actions automatically
- Time-Saving – Cuts repetitive tasks
🚀 Final Thought
Agentic AI is quietly taking over your home—not with sci-fi robots, but with smarter routers, plugs, and apps. You won’t notice them working. But you’ll definitely feel the difference.
Want more of this? Stay tuned to TechieBano—where we decode the future in simple
Agentic AI Home Assistants: Simplifying Smart Living with Autonomous Intelligence
Imagine a home assistant that doesn’t just follow commands—but thinks, decides, and acts for you.
Welcome to the world of Agentic AI home assistants—where automation meets intelligence.
In this blog, we’ll break down this tech evolution in simple terms, show you how it works, and guide you on how to get started—whether you’re tech-savvy or not.
What is Agentic AI?
Agentic AI refers to artificial intelligence systems that operate independently. Unlike traditional assistants like Alexa or Google Assistant that wait for your input, Agentic AI:
- Identifies tasks
- Plans its actions
- Executes them without instruction
💡 Think of it like giving your smart home a brain—and initiative.
1. How Agentic AI Works in Your Home
Let’s compare how Agentic AI changes the way your devices behave:
| Task | Traditional AI | Agentic AI |
|---|---|---|
| Adjust Wi-Fi | Only on request | Boosts speed during peak usage |
| Turn off appliances | Needs manual scheduling | Detects idle devices & shuts them down |
| Monitor power | Just reports usage | Predicts and reduces energy wastage |
| Manage home security | Sends alerts only | Locks doors and alerts authorities |
✅ No micromanagement. Just results.
2. Real-World Uses of Agentic AI
Many companies are already embedding Agentic AI into their products:
- TP-Link Deco AI – Optimizes Wi-Fi bandwidth in real-time
- Samsung SmartThings Energy – Learns your habits to reduce power waste
- Bosch Security AI – Automatically reacts to unusual behavior
- Cleaning Robots – Learn room layouts and clean more efficiently
👉 These aren’t futuristic ideas—they’re available now.
3. Benefits of Agentic AI at Home
- 🧠 True Automation – No need to give commands
- 💡 Smarter Efficiency – Your devices work smarter
- 🔐 Enhanced Safety – Acts before danger strikes
- ⏳ Time Saving – Reduces manual tech hassles
- 🌍 Eco-Friendly – Cuts energy usage and cost
4. Is Agentic AI Safe?
Yes – when used correctly. Leading brands design Agentic AI with:
- Data Privacy Tools
- Fail-safes and manual overrides
- Transparency in decision-making
Tip: Always choose trusted apps like Rabbit R1, Humane AI Pin, or Samsung SmartThings.
5. How to Start with Agentic AI (Step-by-Step)
- Buy a smart device with AI automation (e.g., AI router, energy hub)
- Install its app and explore automation options
- Monitor results—like faster Wi-Fi or lower energy bills
- Add more AI-compatible devices over time
- Let it learn from you—don’t interfere too much
📌 Pro Tip: Start with a TP-Link Deco AI router – it’s user-friendly and powerful.

